KLIK AIR – Installation Instructions
Here you will find the complete installation instructions for KLIK AIR in detailed and illustrated text form.
KLIK AIR is the particularly flexible version of our license plate holder. The mounting pins are attached to the vehicle, while the mounting plates are glued to the back of the license plate. This keeps the license plate looking completely clean from the front and allows it to be clicked in and out at any time later.
Quick Guide for the Impatient
Tap a step for detailed instructions ↓
- Cleaning pins and mounting surface, peeling off the protective film from the adhesive pads.Details ›
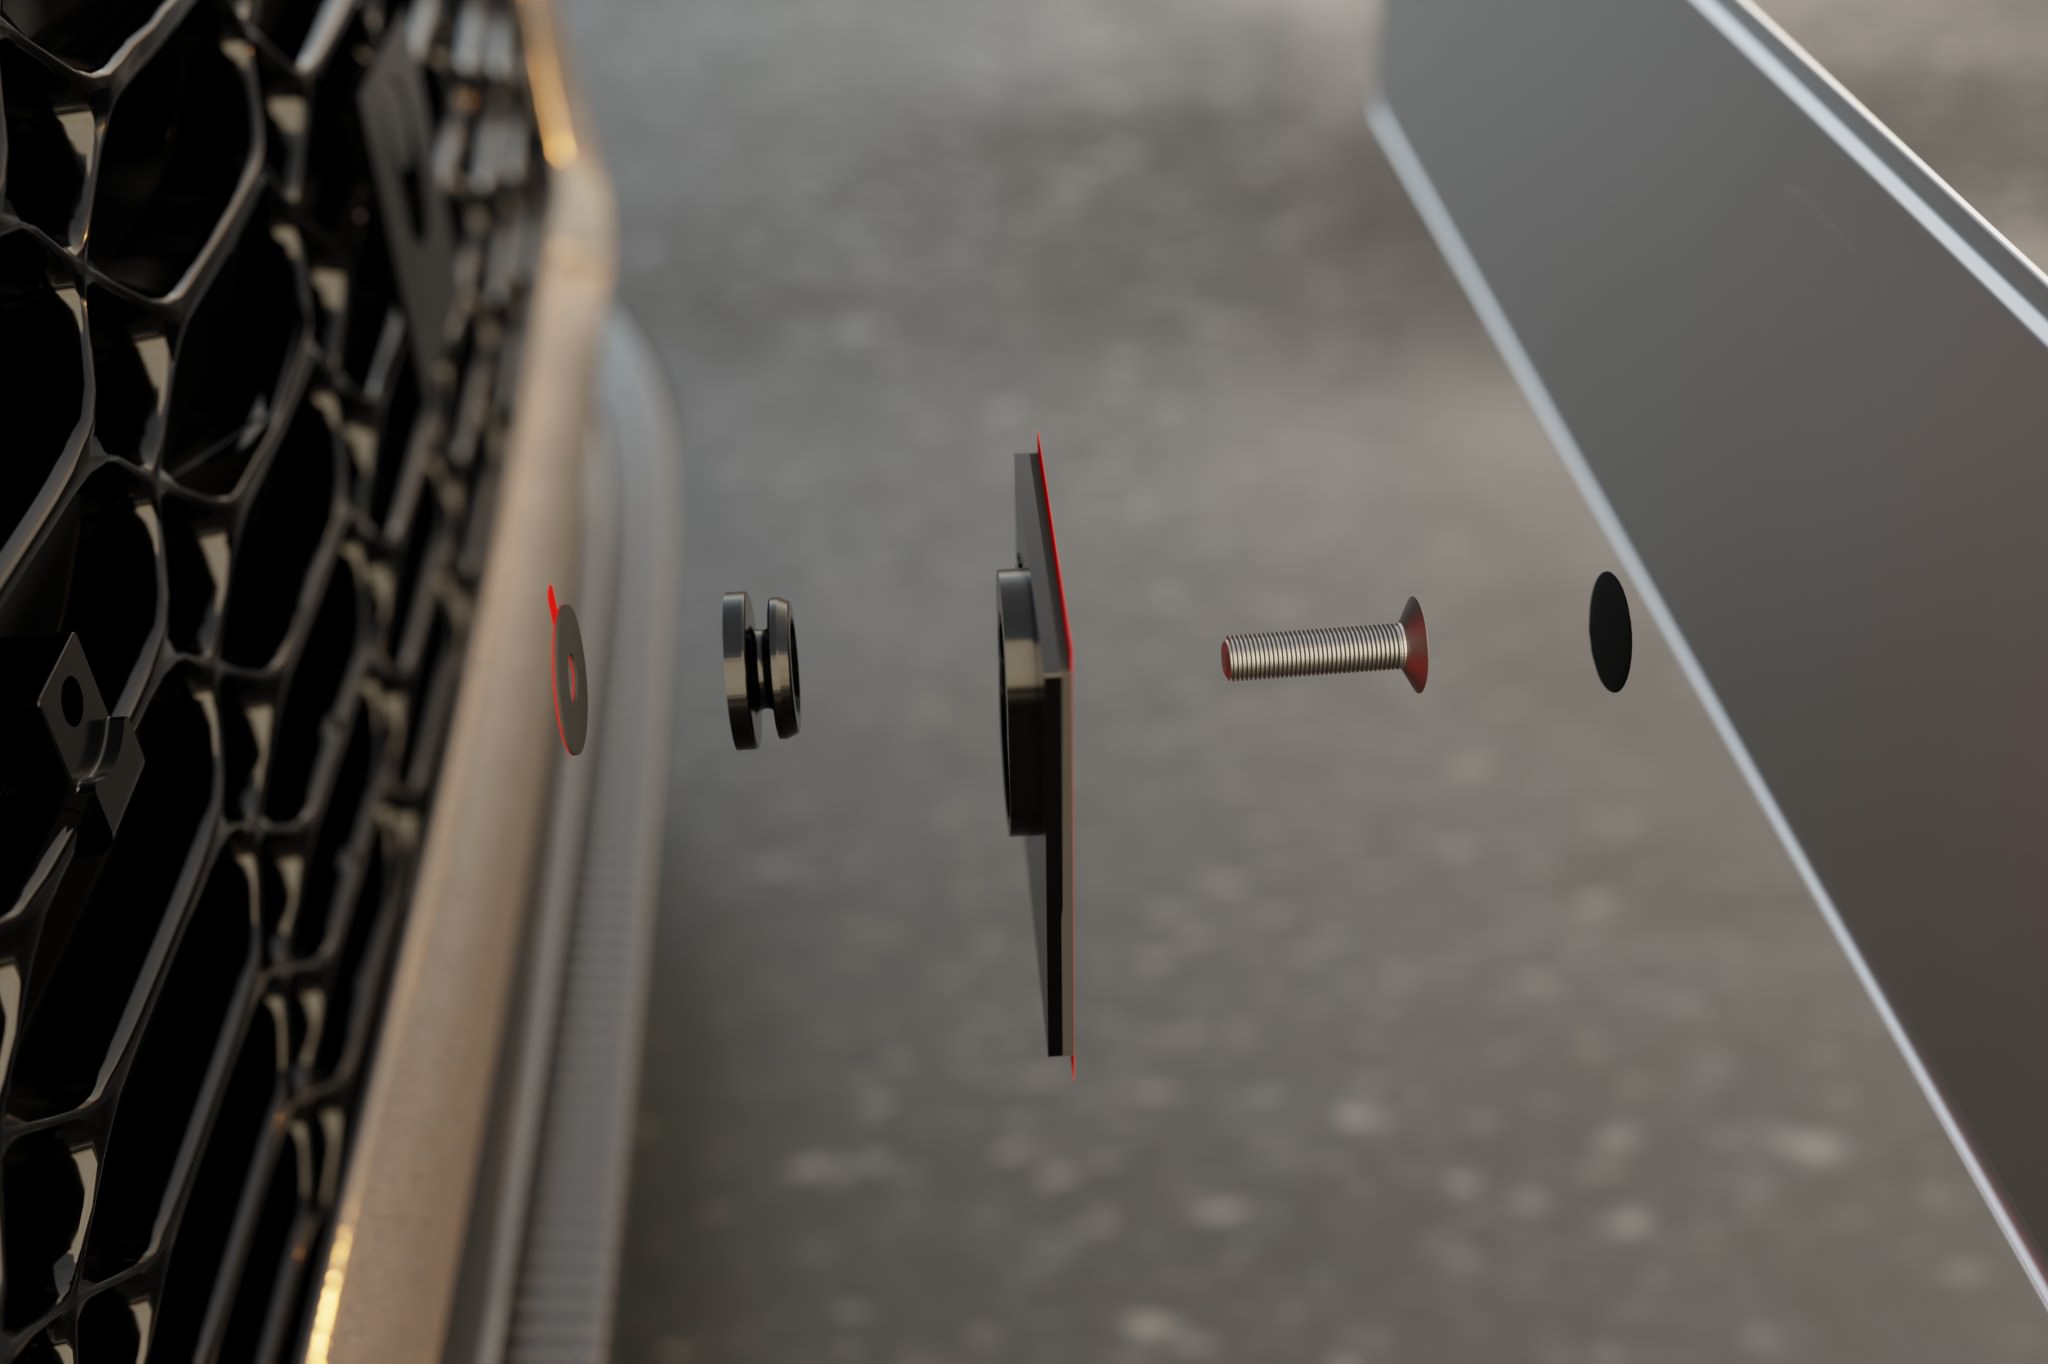
- Screwing on the pins.Details ›
- Sealing the pins with foil stickers.Details ›
- Attaching the mounting plates to the pins and locking them.Details ›
Continue with your license plate type:
Metal license plate
3D license plate
- Prepare 3D mounting kit: attach transfer pads and thicker adhesive pads to the mounting plates.Details ›
- Position license plate with painter’s tape (hinge), remove white liner, press down – transfers the pad position.Details ›
- Fold license plate up, cut out rivets with the punch tool.Details ›
- Remove transfer pads and red liners, fold down via the hinge and press down firmly.Details ›
Tools and Material
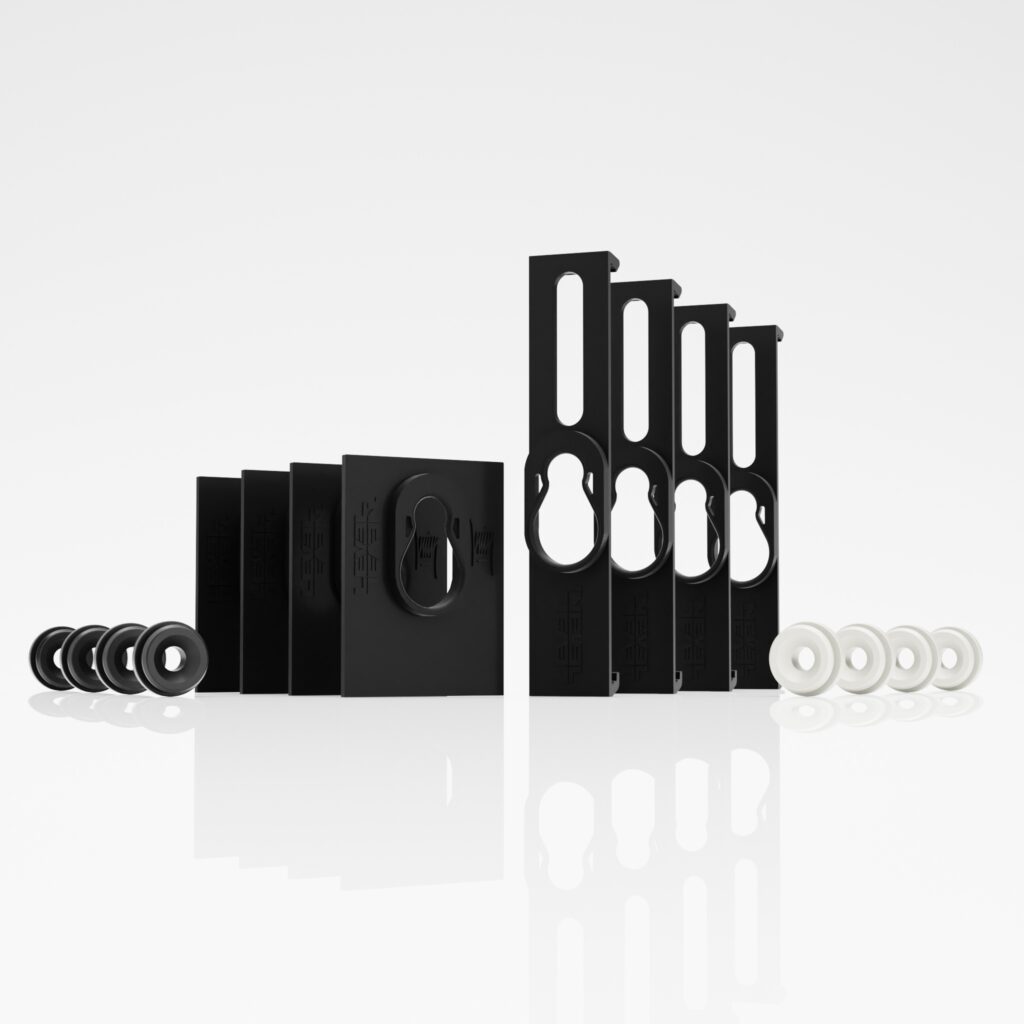
To mount a license plate, you will need two mounting plates and two mounting pins. Additionally, you will need either two sheet metal screws or two M6 screws. All necessary parts are included with your license plate holder.
If you need some distance from the vehicle, for example to bridge honeycombs, webs, or slight curves, your holder comes with suitable spacers. For more specialized applications, we also have other adapters for our KLIK AIR license plate holder.
A standard Phillips screwdriver is sufficient for attachment.
Overview of KLIK AIR Installation Instructions
What you need to mount a license plate:
Preparing the pins
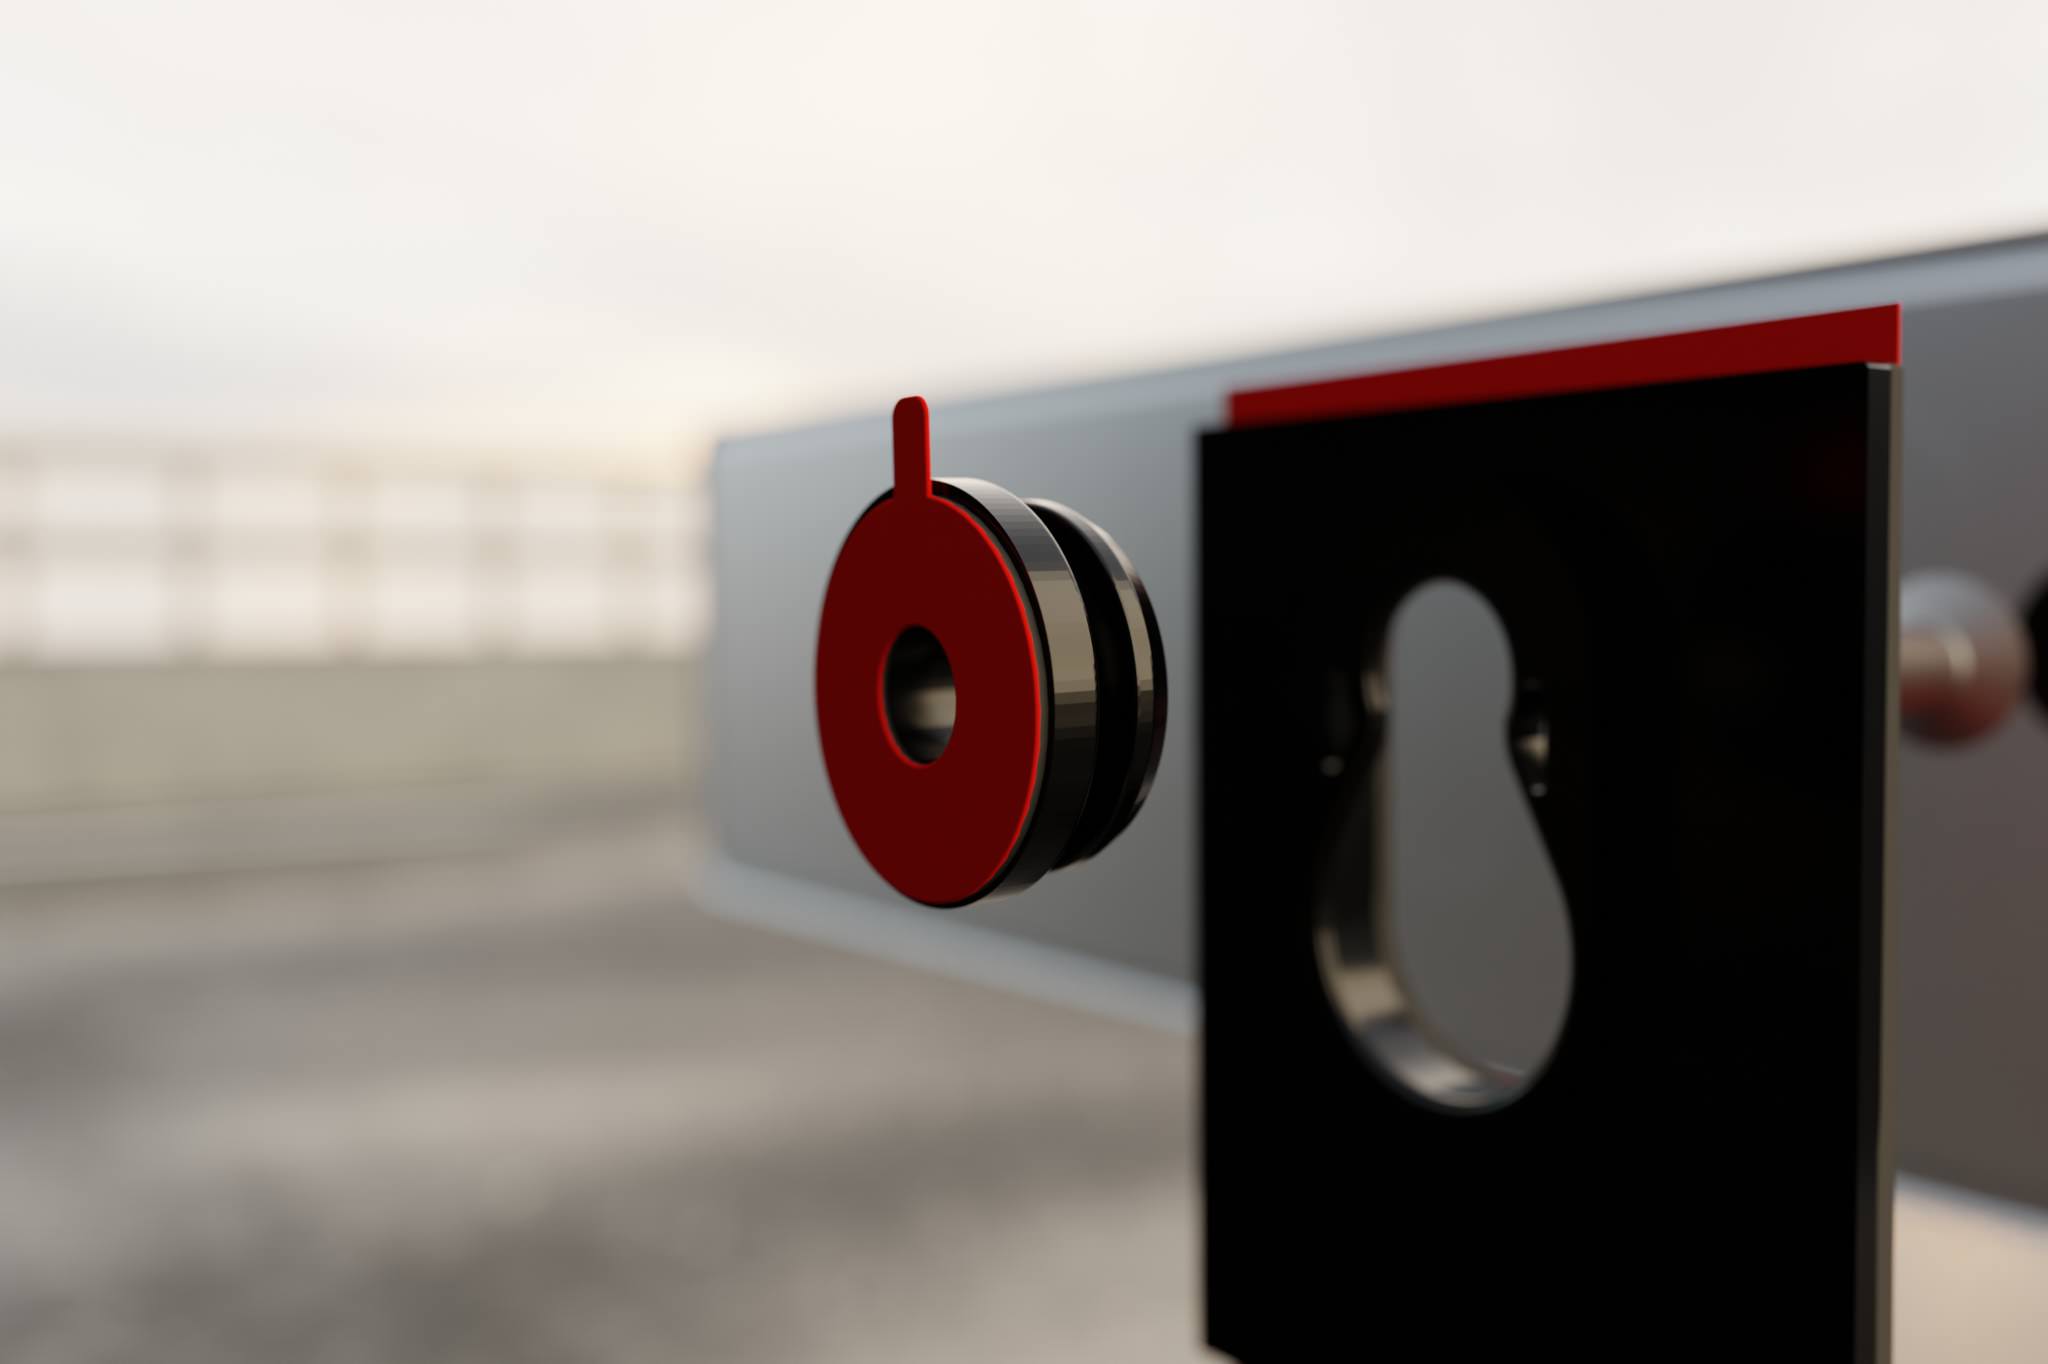
Clean the pins and the surface where the mounting pins are to be attached with the supplied alcohol swab. Let the pins and surfaces air dry for at least one minute to ensure no alcohol residue remains.
Ensure that the mounting surface is clean, dry, and free of grease and dust. This is the only way to ensure the pins sit cleanly and permanently.
Remove the red protective film from the adhesive pad.
Screwing on the pins
Hold the pin so that it does not accidentally touch the body and screw the two pins hand-tight with approx. 1 to 2 Nm to your vehicle. Excessive torque can cause the screws in the plastic of the bumper to spin freely and no longer provide a hold, or even damage the pin.
We recommend a distance of 200 to 300 mm between the pins. This value corresponds to the standard at the rear and has proven to be particularly stable in our tests. In principle, however, you can choose the distance freely.
Sealing the pins
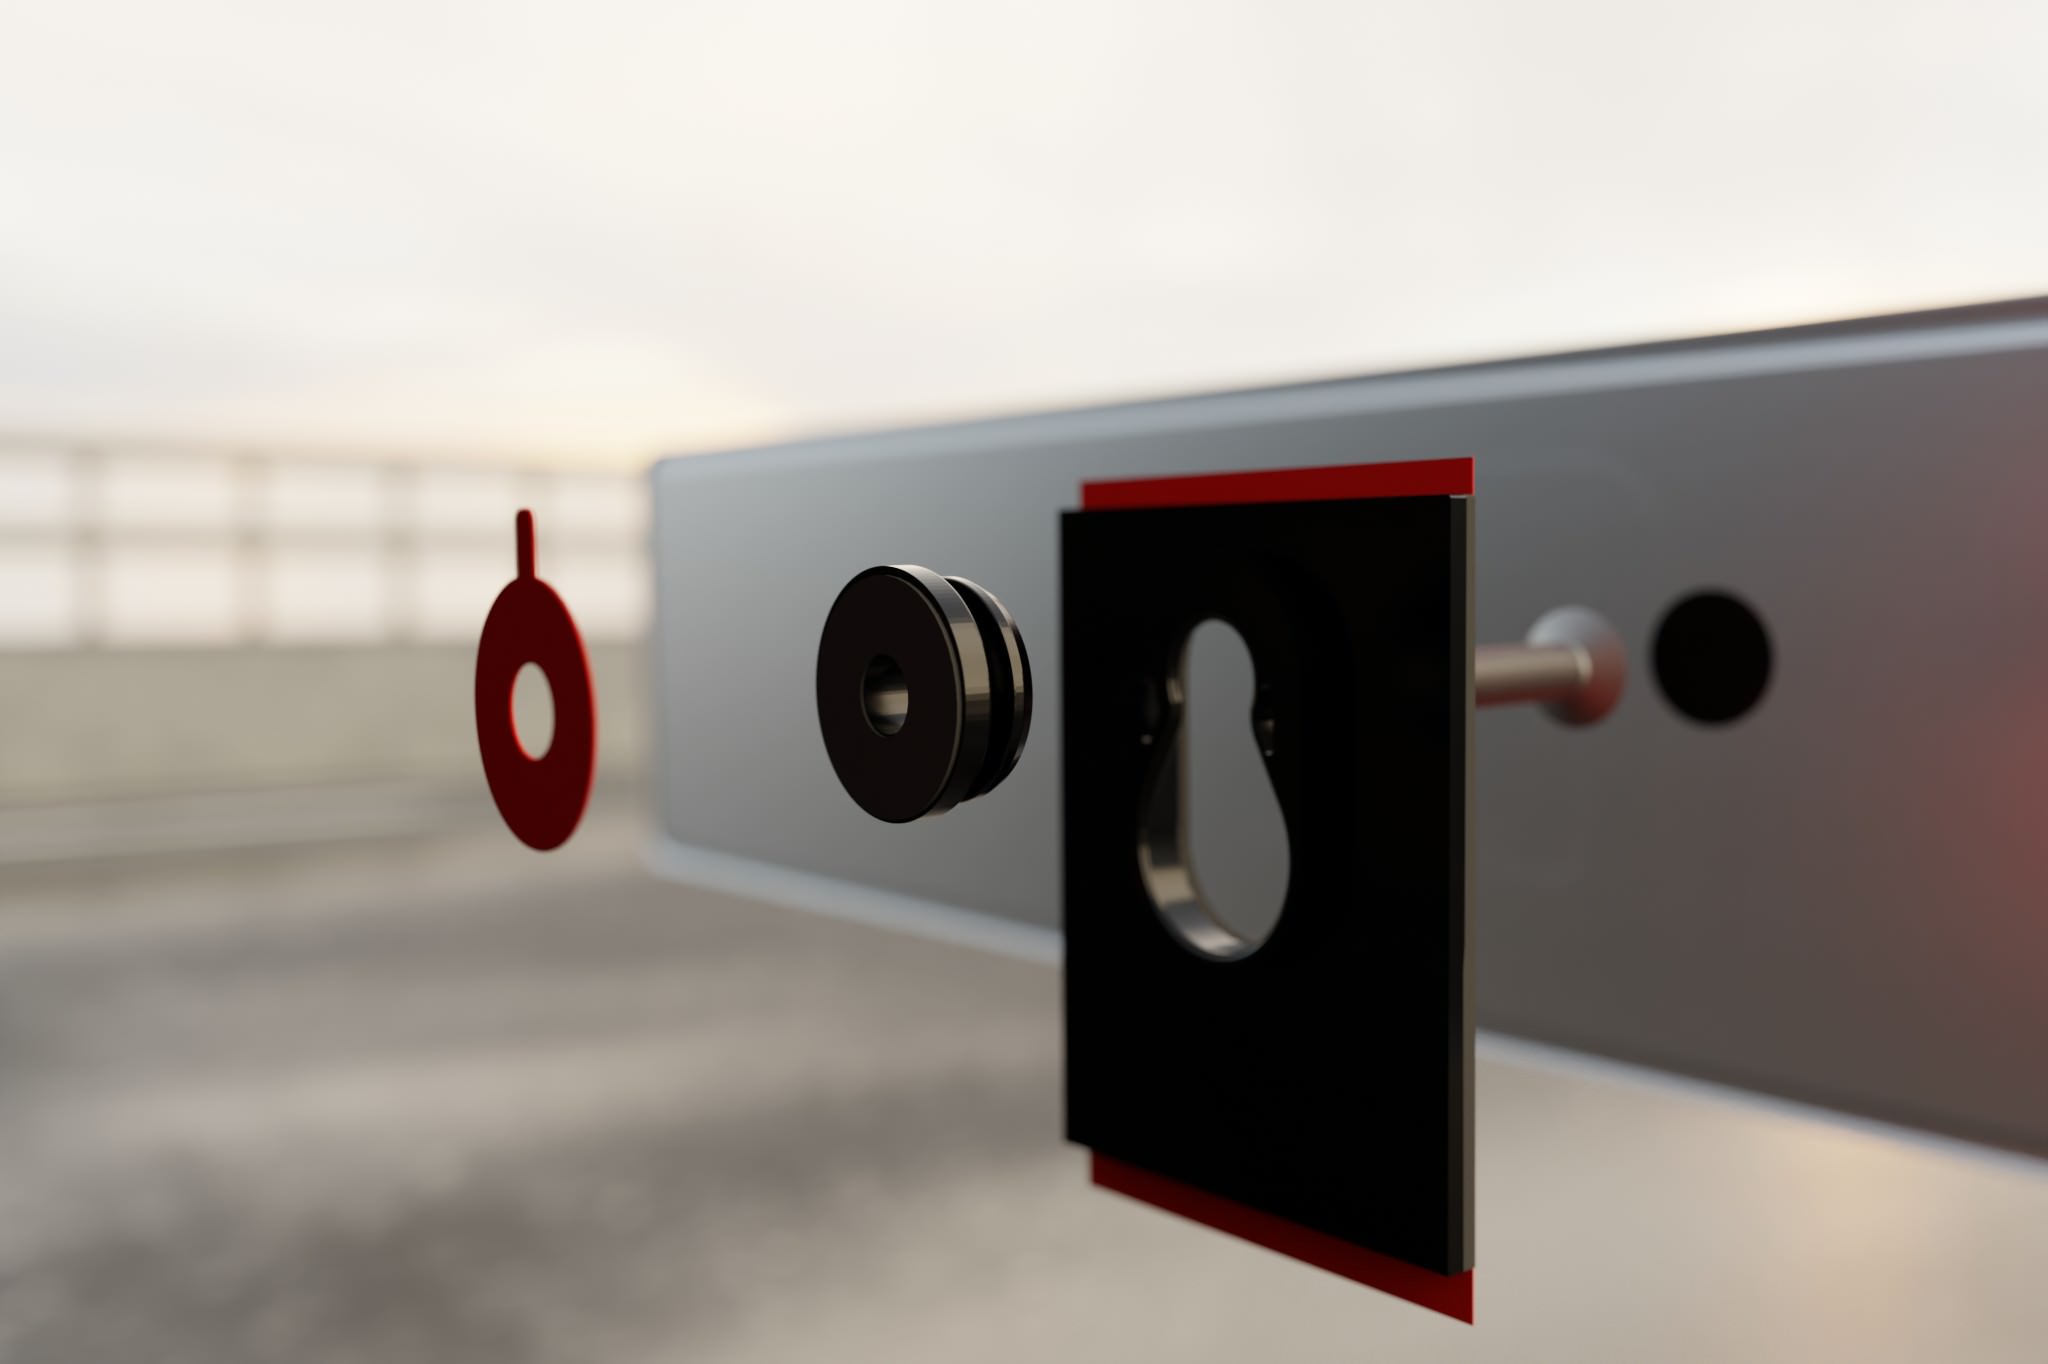
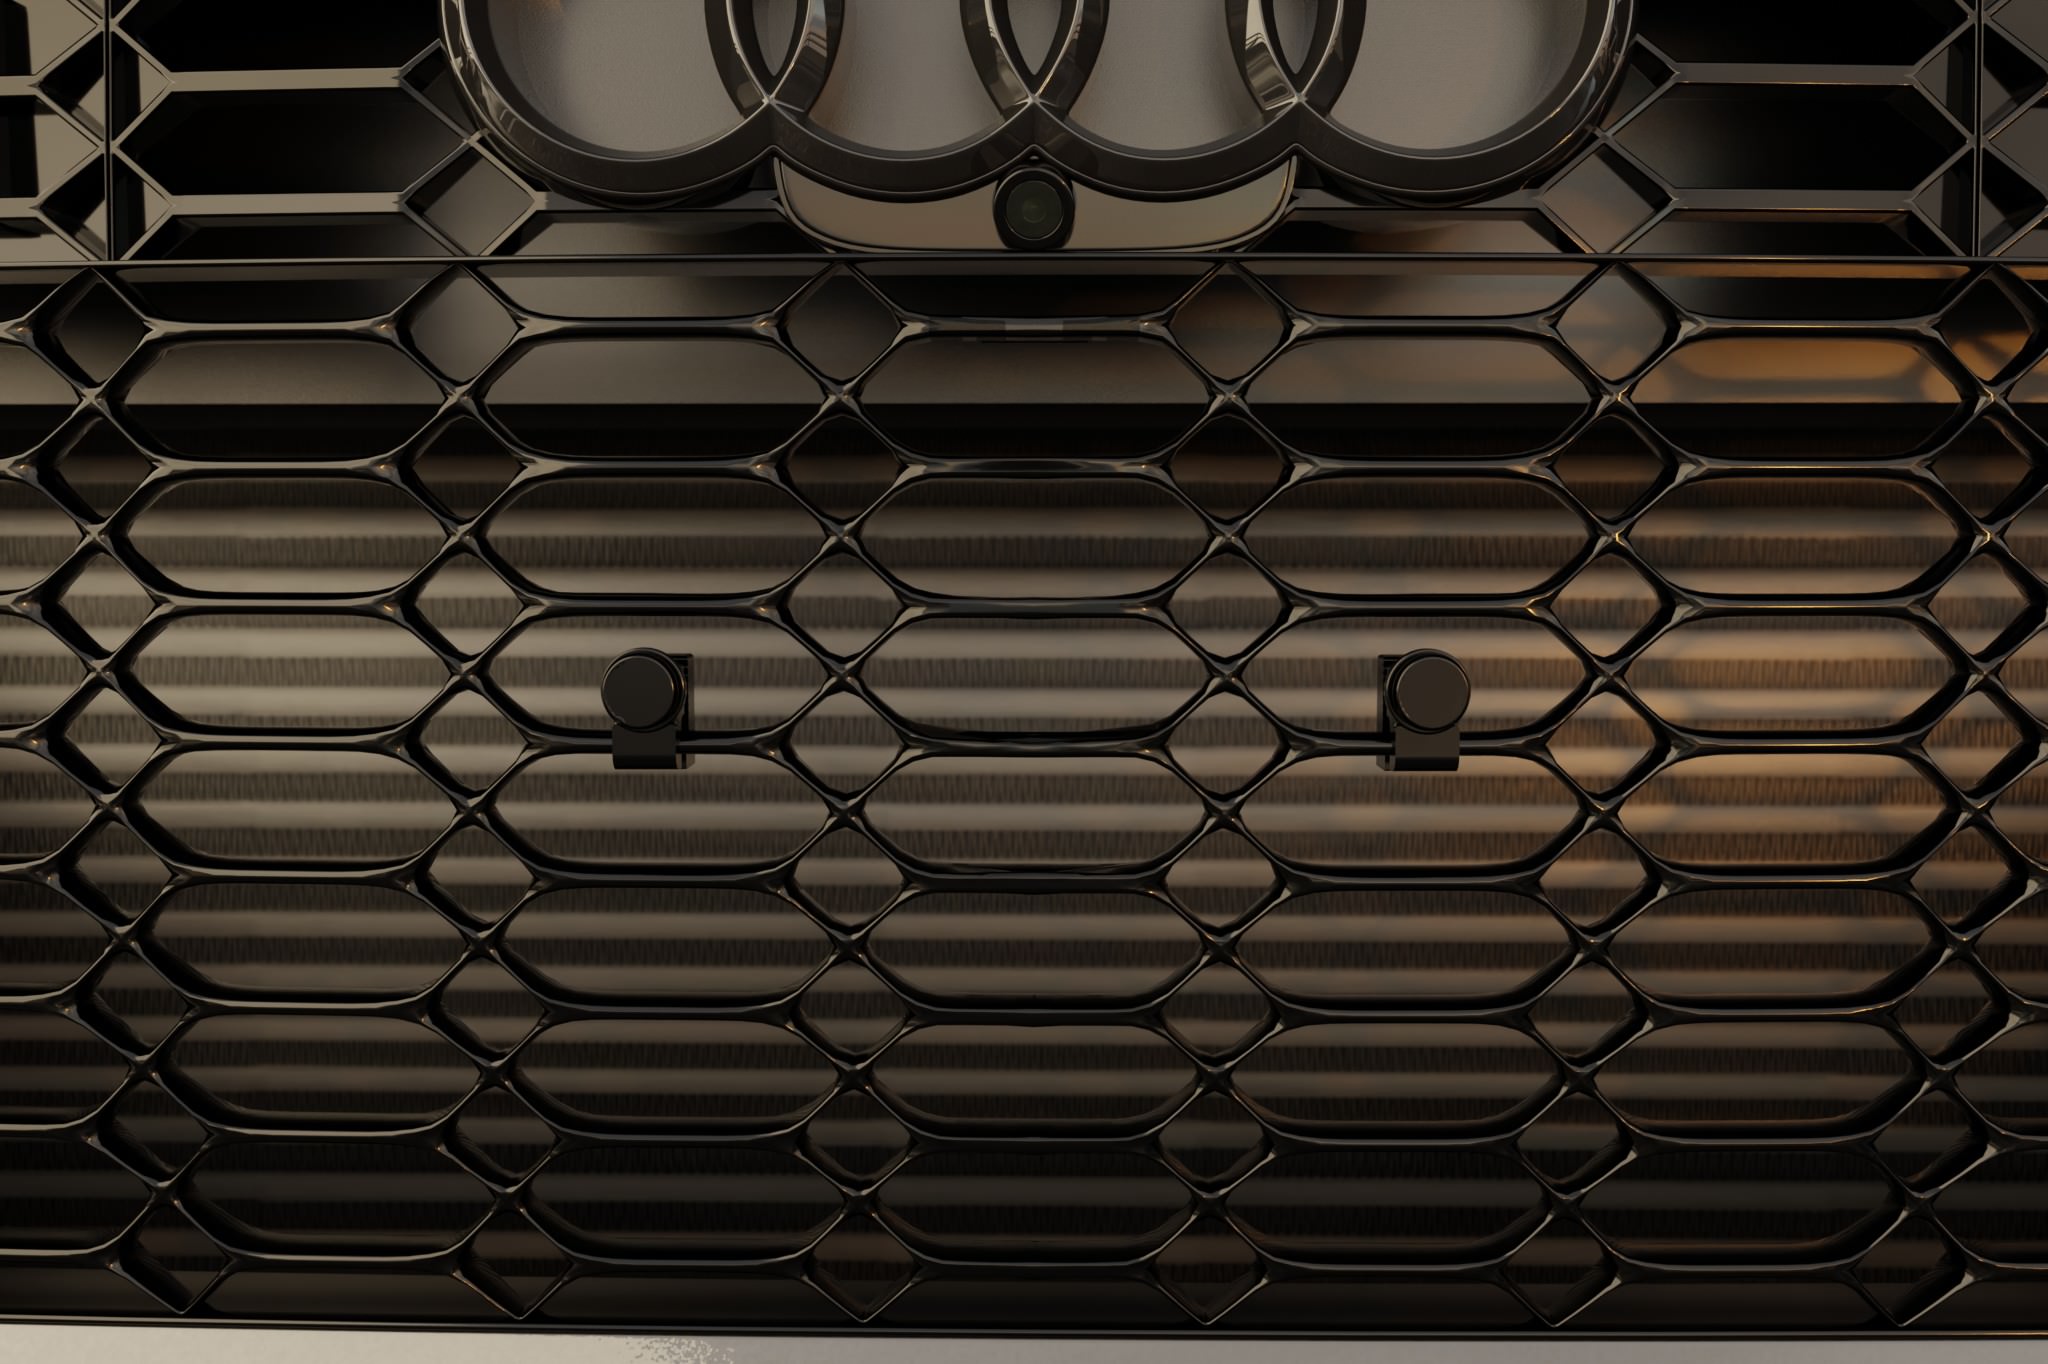
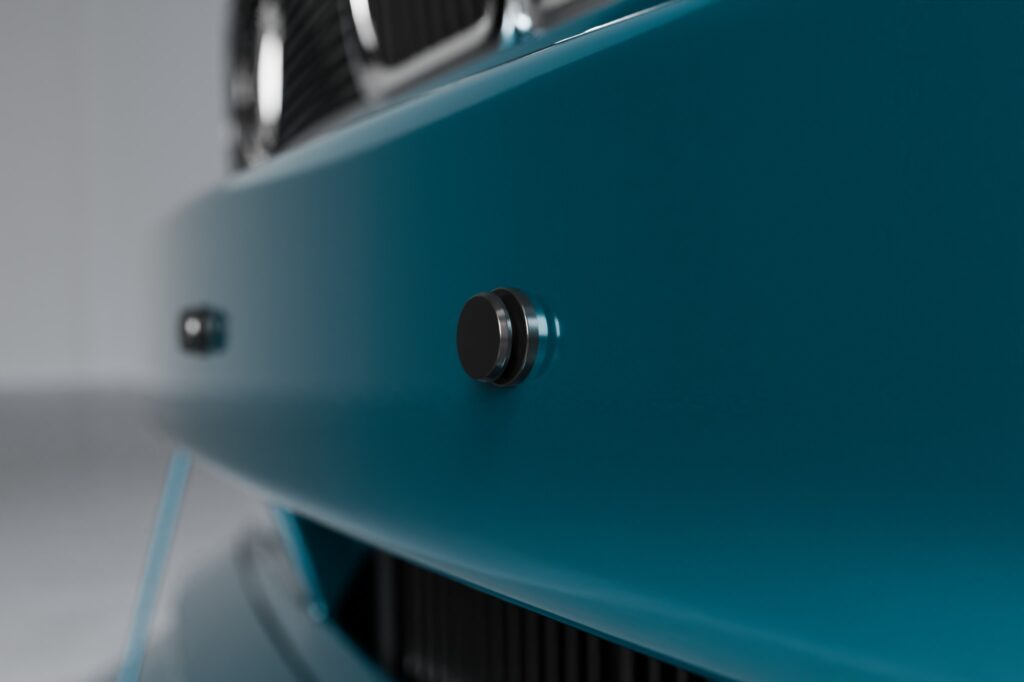
Once the mounting pins are in place, they are sealed with the included foil stickers to make the look as clean as possible.
The pins should be clean, free of grease and dust before applying the foil stickers.
Locking mounting plates onto the pins
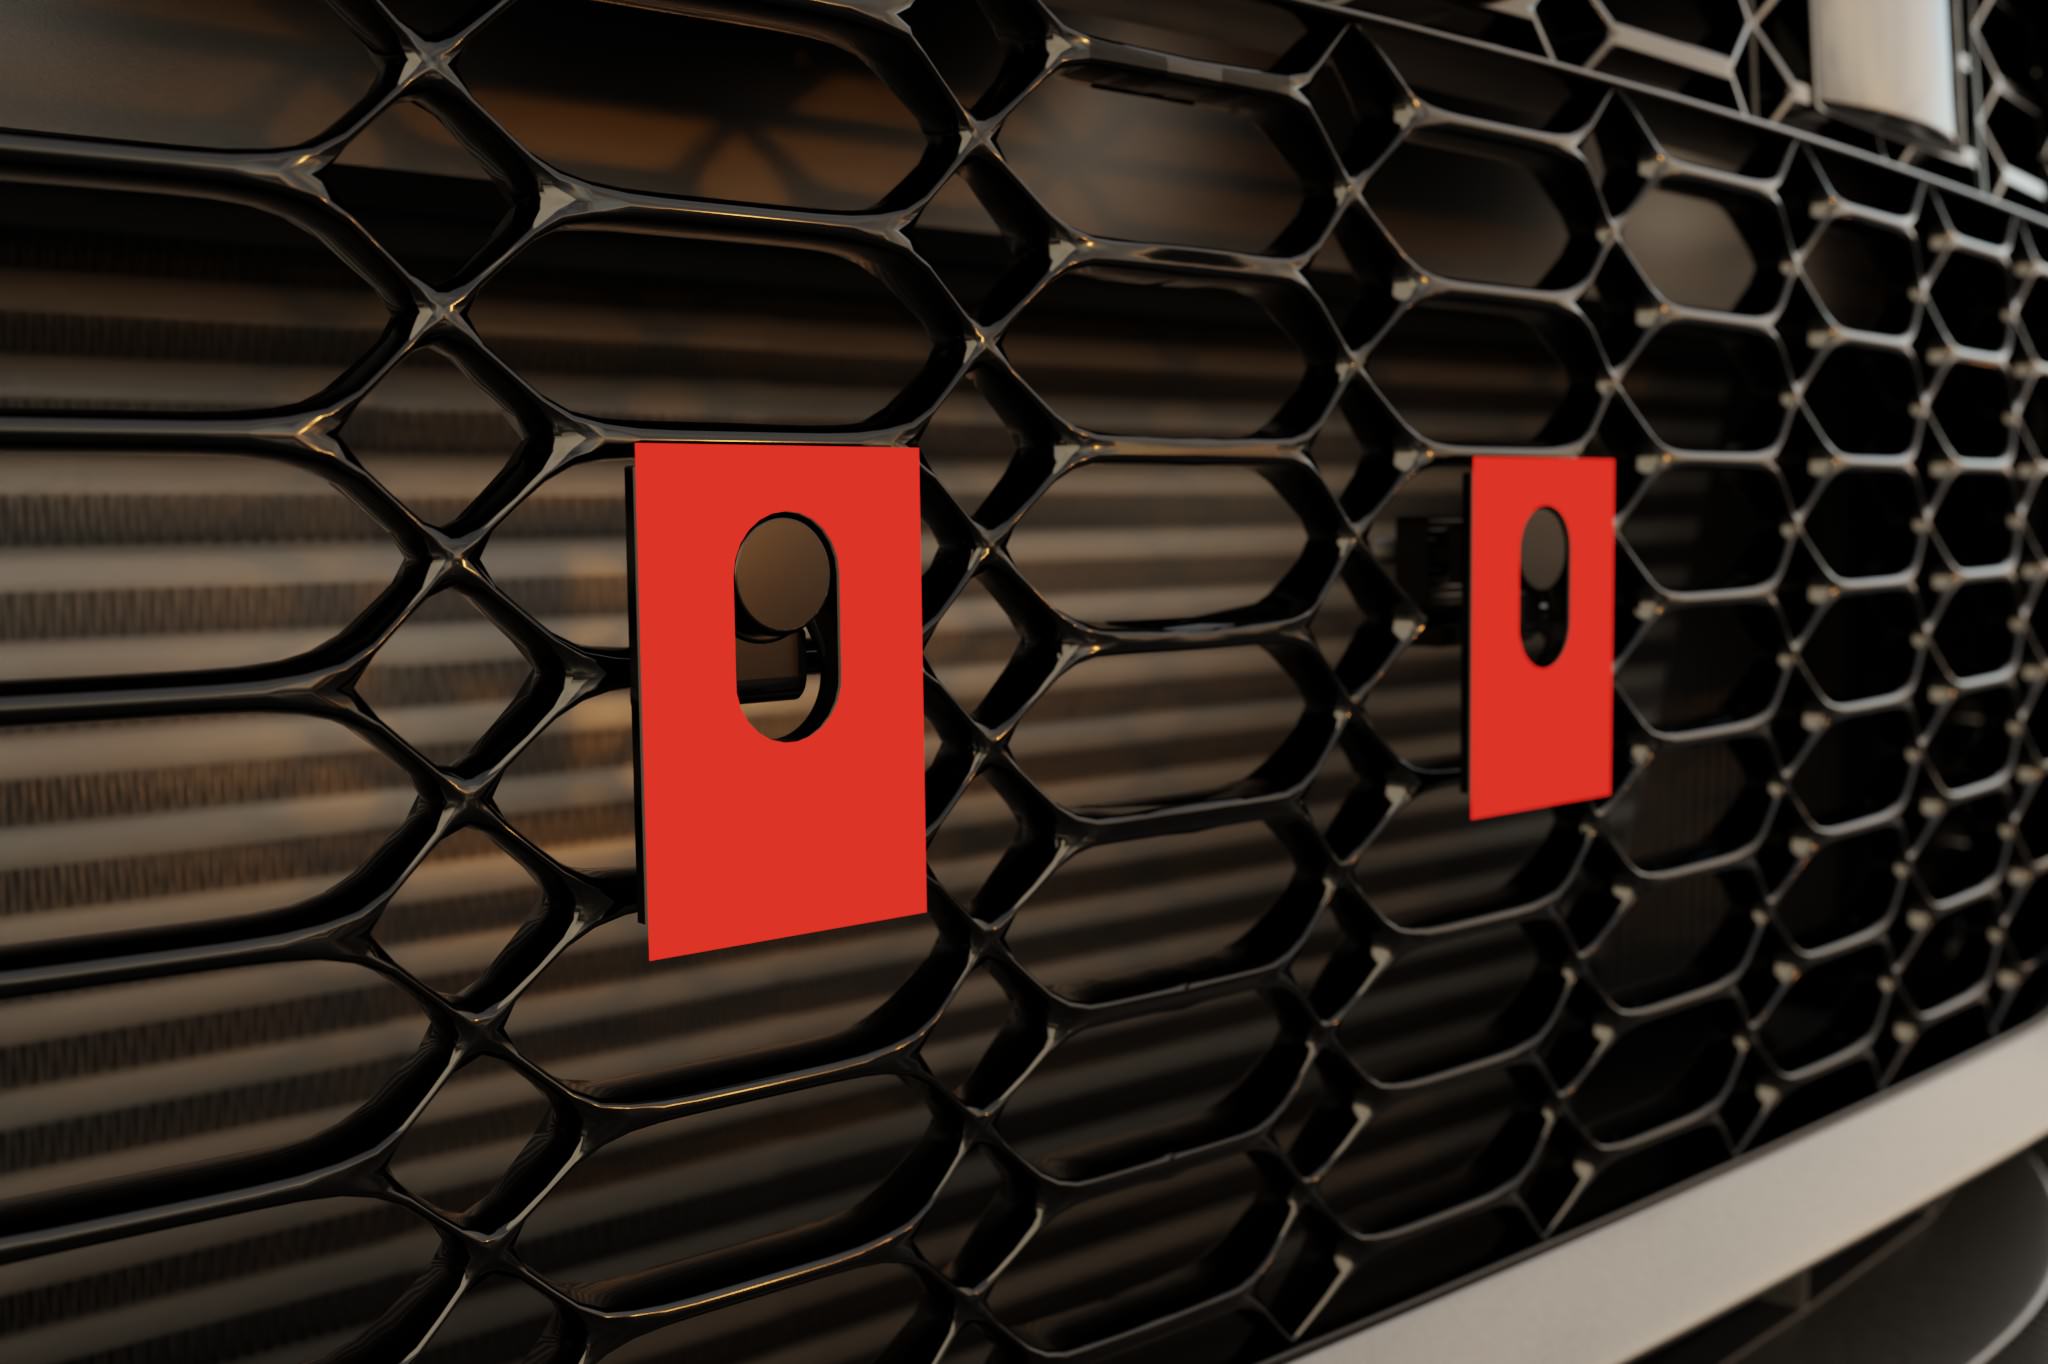
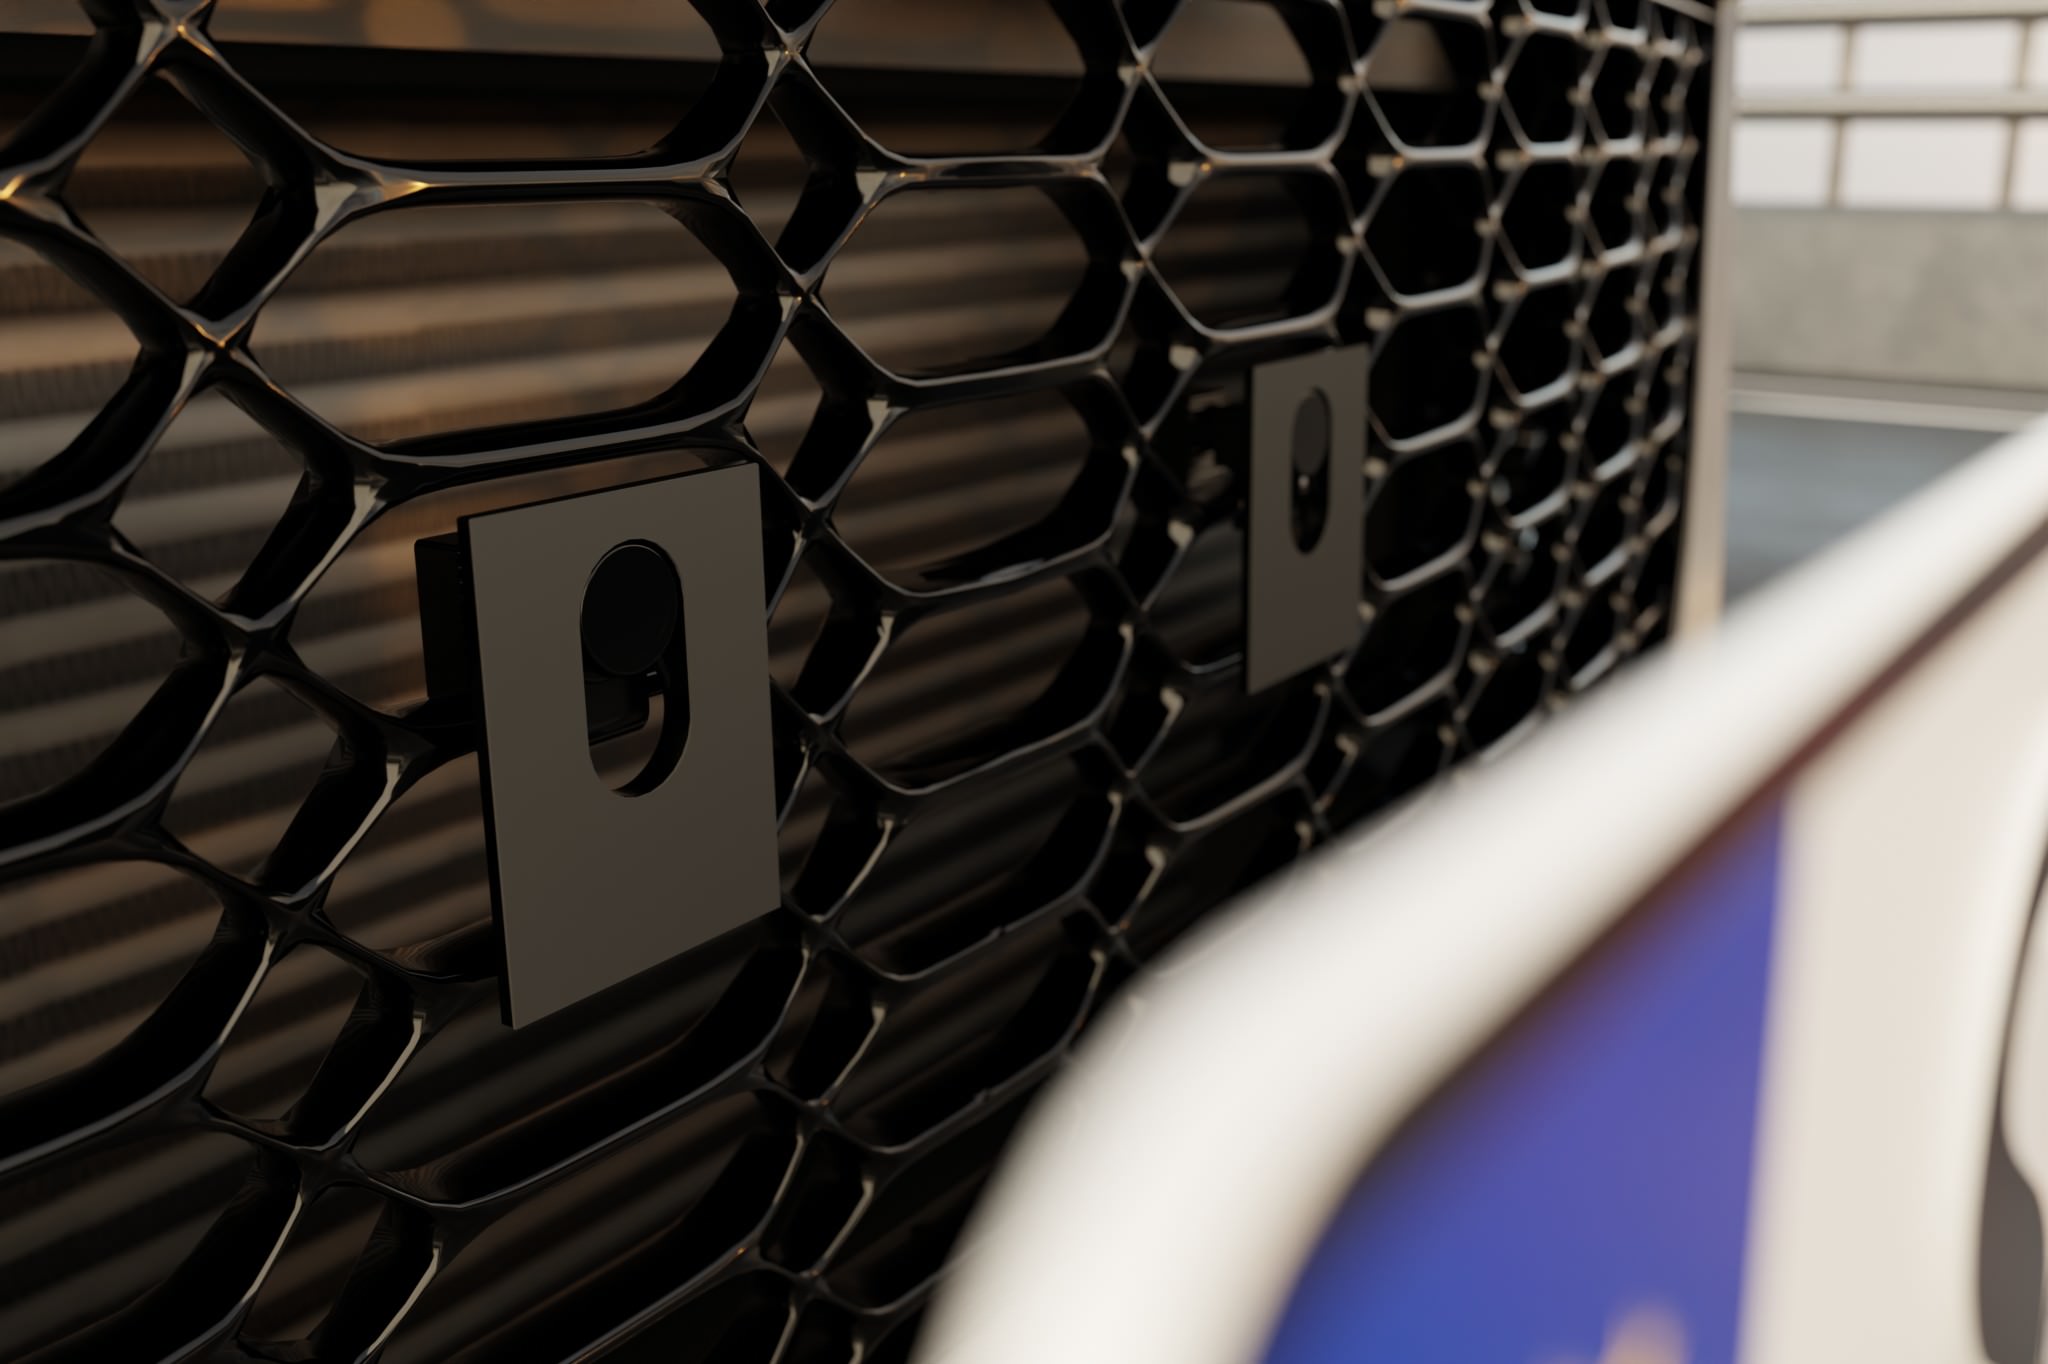
Place the two mounting plates onto the previously mounted pins on the vehicle and lock them in the desired direction.
Now check whether both mounting plates are fully seated on the pins and securely clicked into place.
Which license plate do you have?
Gluing the metal license plate onto the mounting plates
This step applies to classic metal license plates.
First, position the license plate in the desired location on the vehicle and secure the top edge with 2–3 strips of painter’s tape, typically on the left and right, and in the center if needed. The tape acts like a hinge: the position is now fixed and the license plate can be folded upward without losing alignment.
Fold the license plate upward and remove the liners from the adhesive pads on the mounting plates. Do not touch the adhesive surfaces with your fingers afterward.
Slowly fold the license plate back down, without pressing it against the adhesive pads along the way. Only when it is exactly in the aligned position do you press it evenly and firmly onto both mounting plates. Ensure that it sits completely and flush.
After installation, the license plate remains glued to the mounting plates. From now on, you can click the license plate together with the mounting plates onto the pins and remove them at any time.
Curing time of the adhesive pads
All adhesive pads reach about 70 percent of their holding power after approx. 20 minutes.
Full strength is reached after approx. 72 hours. During this time, you should avoid high-pressure cleaners, car washes, heavy loads, and driving on the highway at very high speeds.
After the curing time has elapsed, KLIK AIR is fully ready for use.
Preparing 3D license plates with the 3D mounting kit
This step only applies to 3D license plates.
An additional 3D mounting kit is required for 3D license plates. This is already included in the scope of delivery for the 3D license plate set. It contains thicker adhesive pads, transfer adhesive pads, and a hole punch.
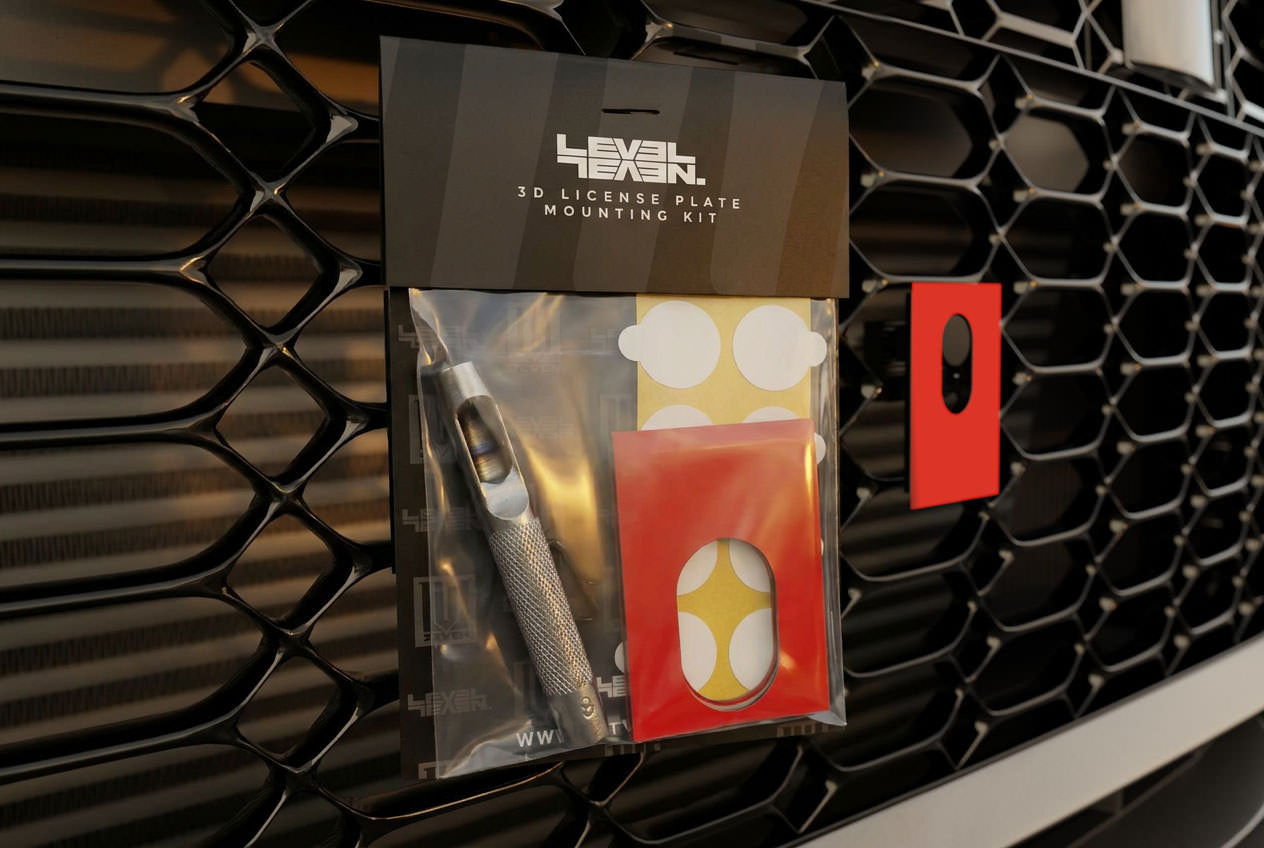
First, lock the mounting plates onto the pins on the vehicle and align them as the license plate is to be locked later.
Now stick two transfer adhesive pads onto the red liners of the adhesive pads already on the mounting plates. Let the transfer adhesive pads overlap by 2–3 mm on the left and right and fold them around the mounting plate. The transfer adhesive pads serve to transfer the position of the additional adhesive pads exactly onto the 3D license plate.
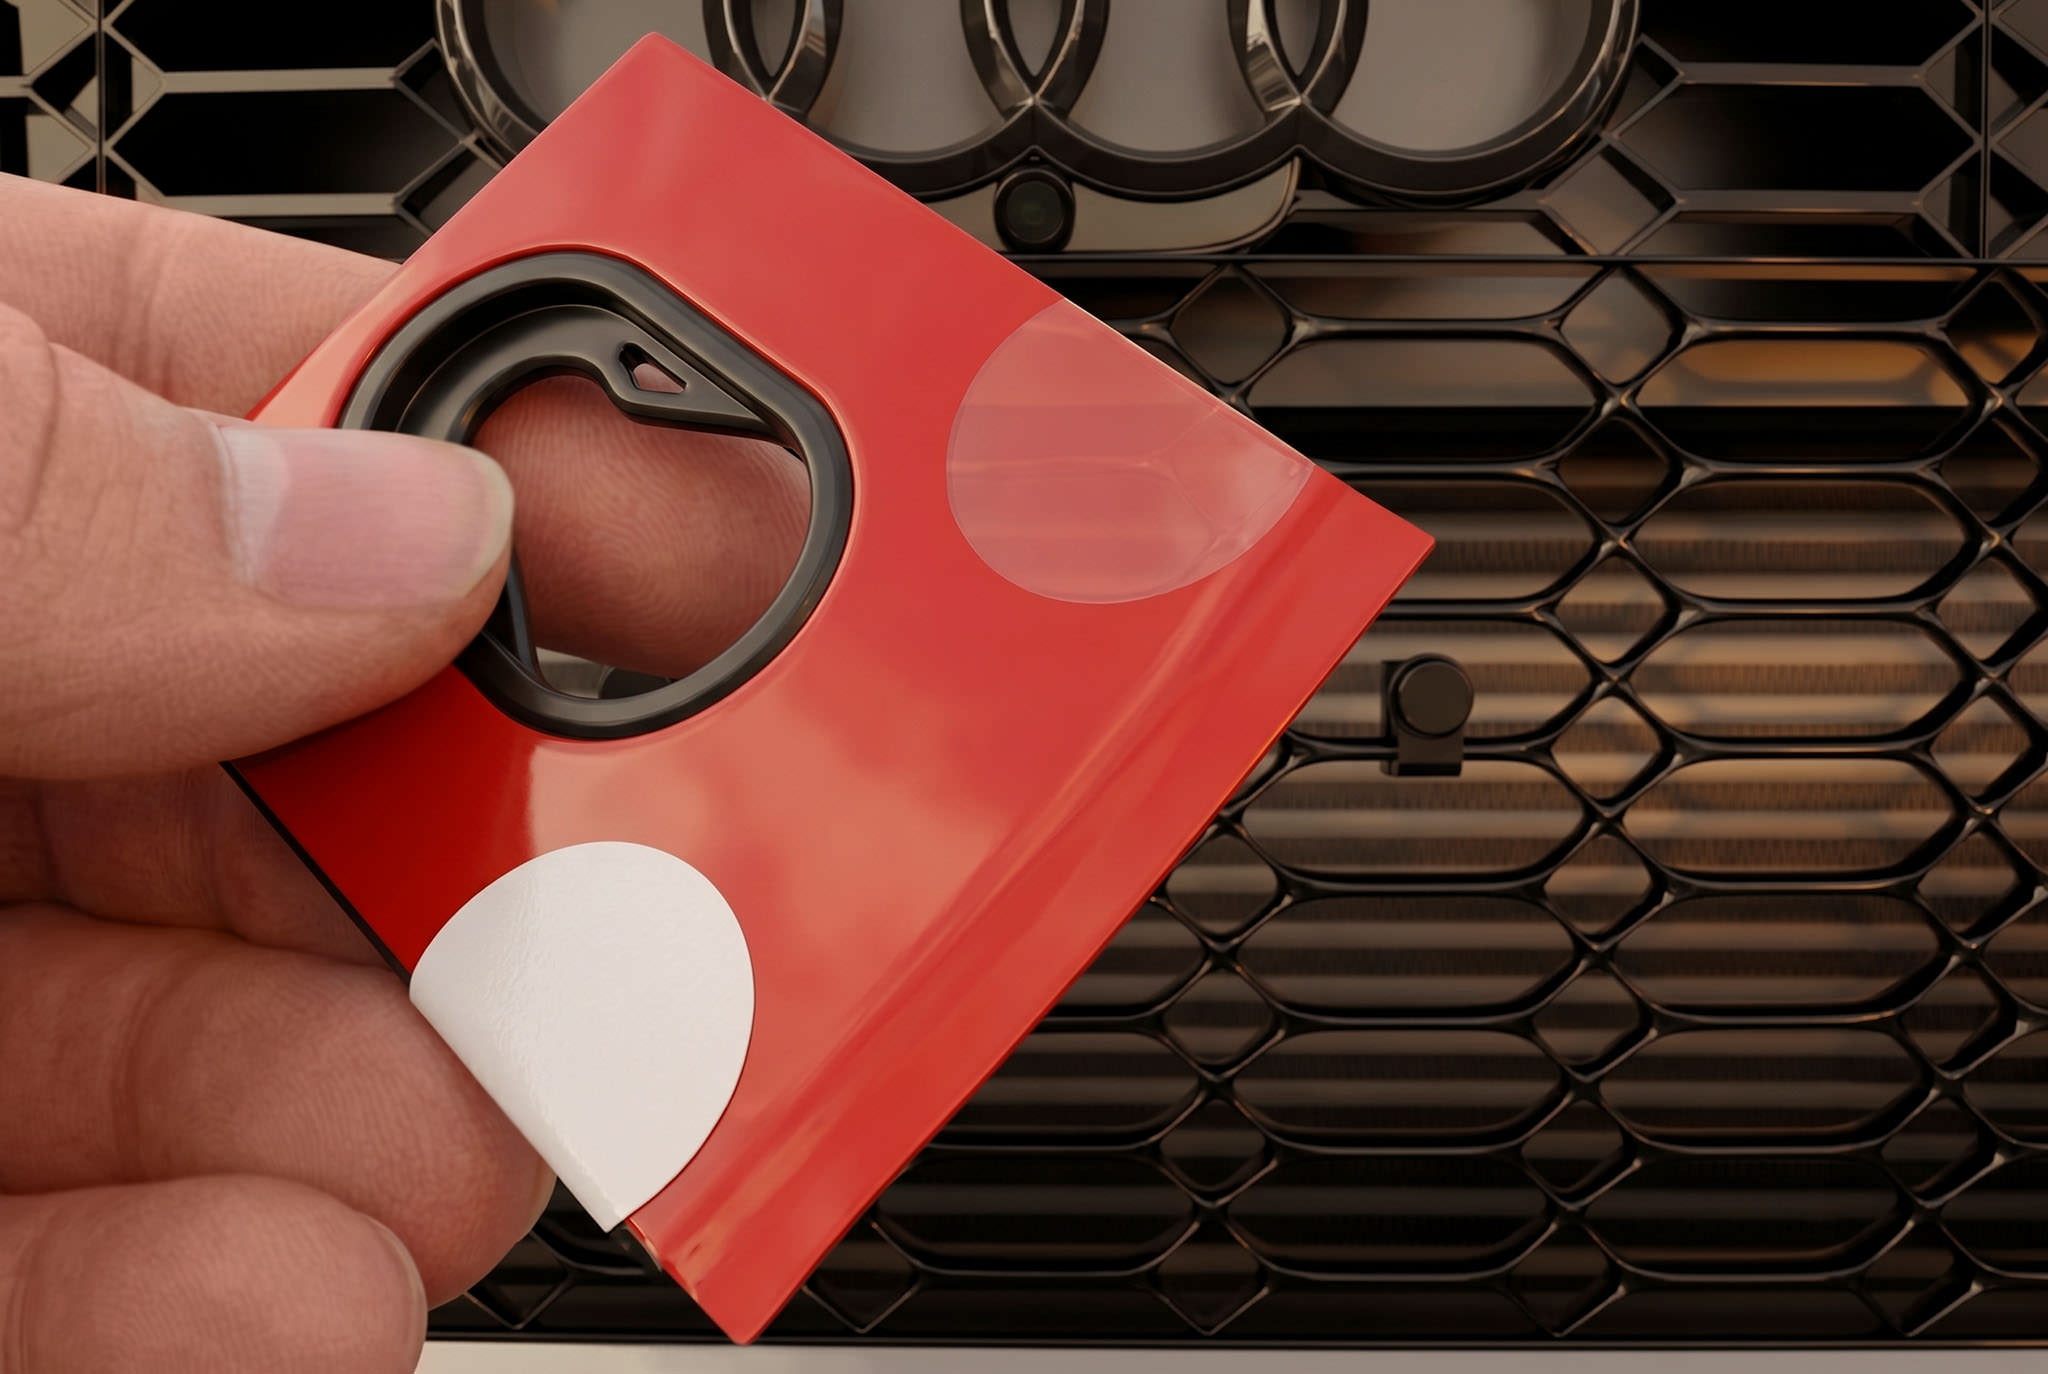
Then attach the thicker adhesive pads from the 3D mounting kit with the red liner side onto the transfer adhesive pads. The thicker adhesive pads must sit flush on the mounting plates.
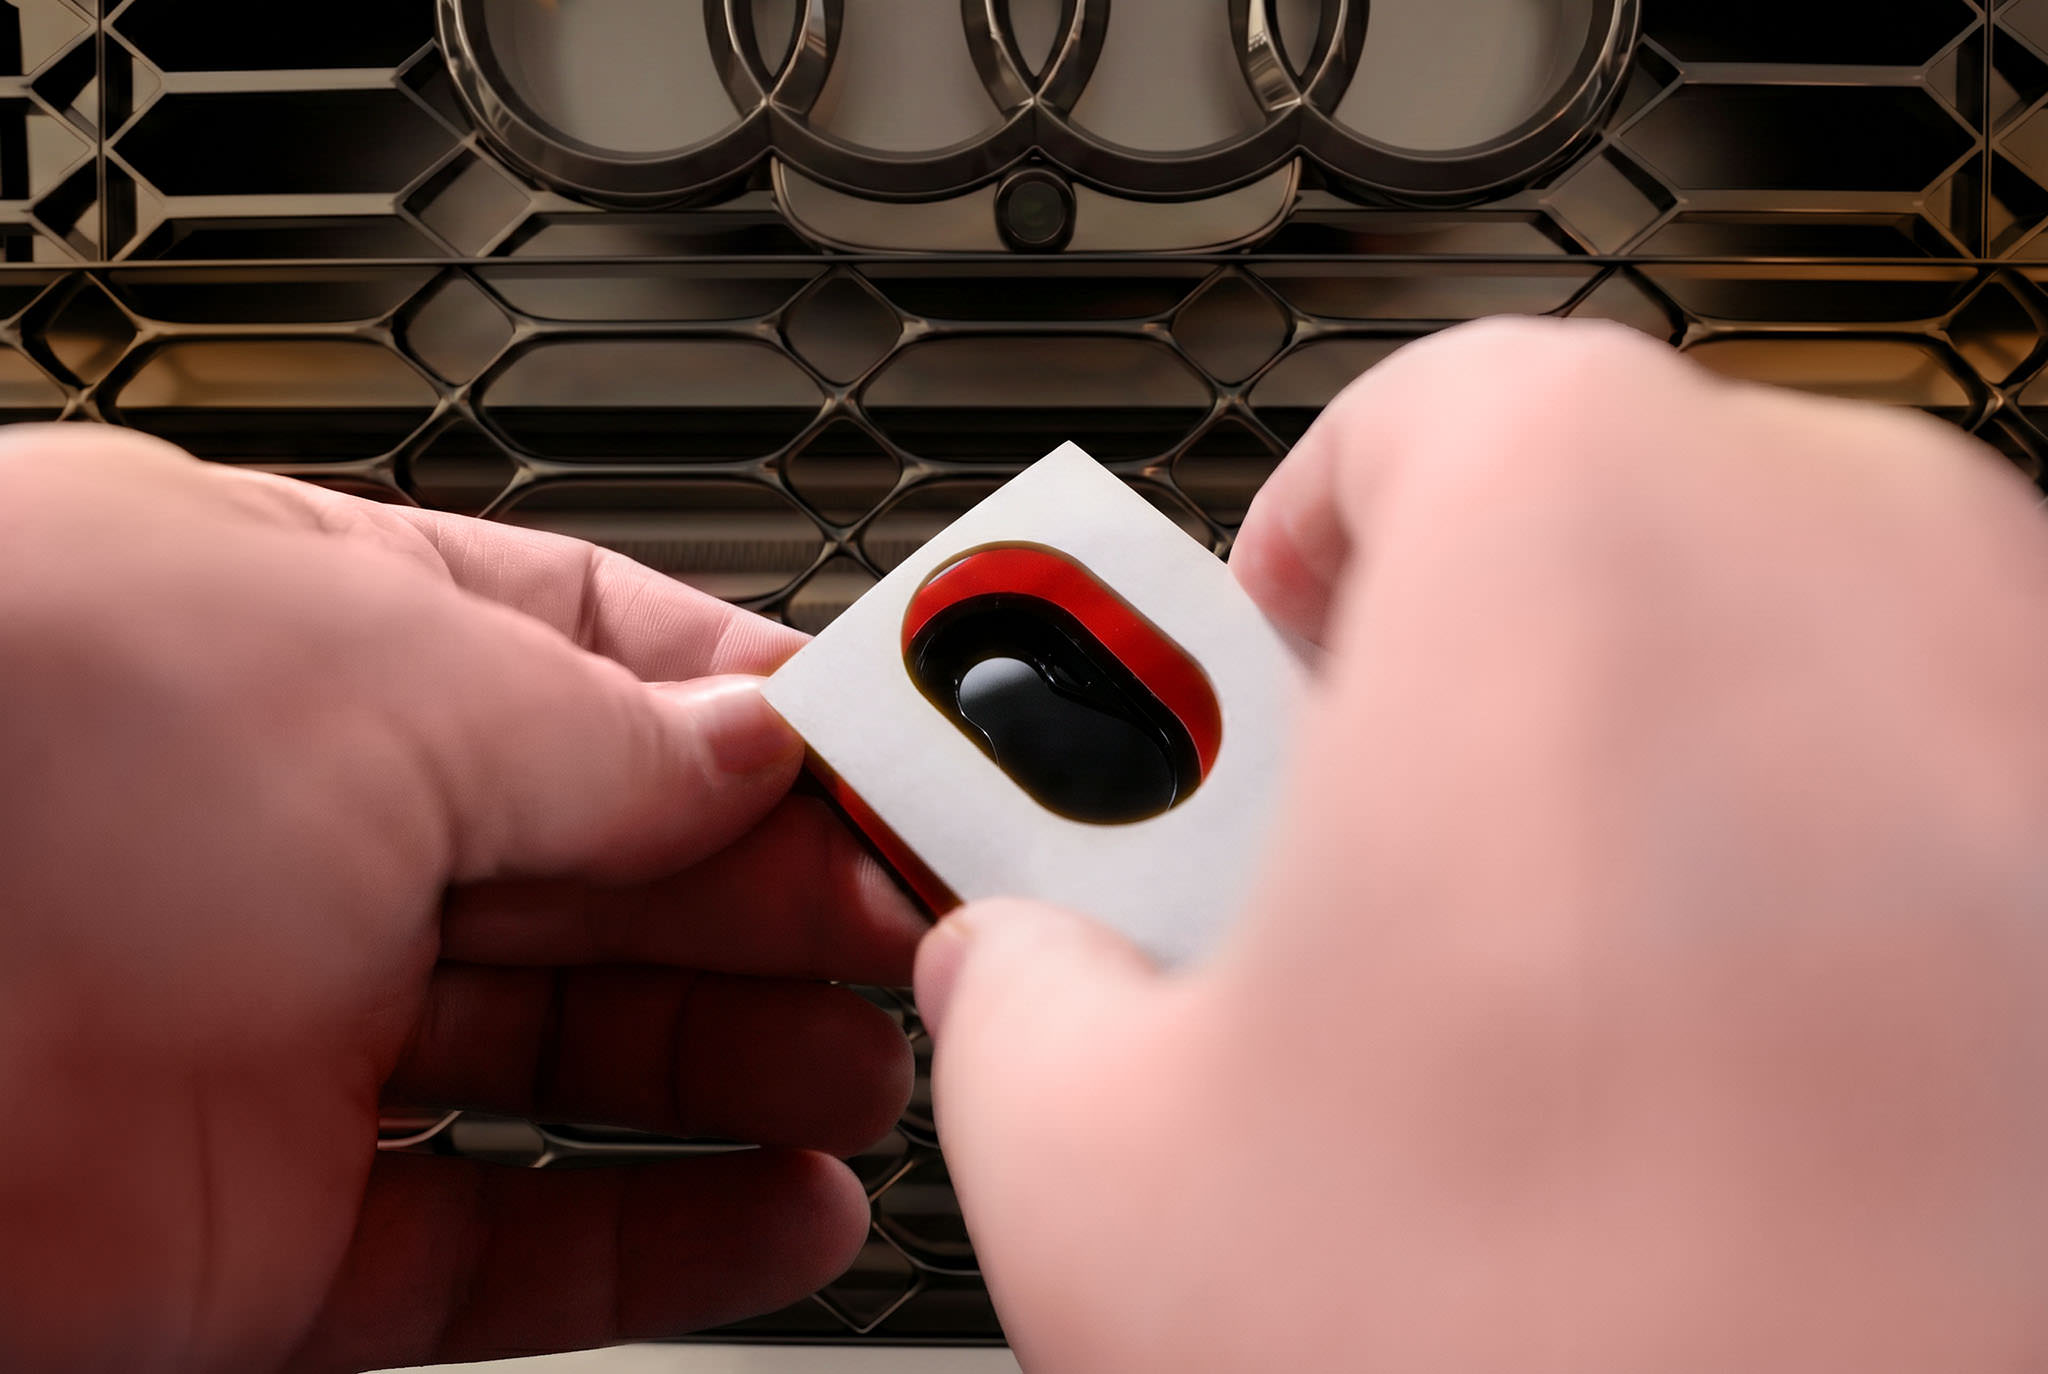
Position the 3D license plate in the desired location on the vehicle and secure the top edge with 2–3 strips of painter’s tape—typically on the left and right, and in the center if needed. The tape acts like a hinge: the position is now fixed and the license plate can be folded upward without losing alignment.
Fold the license plate upward and remove the white liner from the thicker adhesive pads in the 3D mounting kit.
Slowly fold the license plate back down, without pressing it against the adhesive pads along the way. Only when it is exactly in the aligned position do you press it evenly onto the adhesive pads.
Cutting out rivets on 3D license plates
Remove the 3D license plate again or fold it upwards if you have fixed the position with masking tape.
The thicker adhesive pads are now in the correct position on the back of the 3D license plate. Now use the hole punch to cut the rivets out of the adhesive pad.
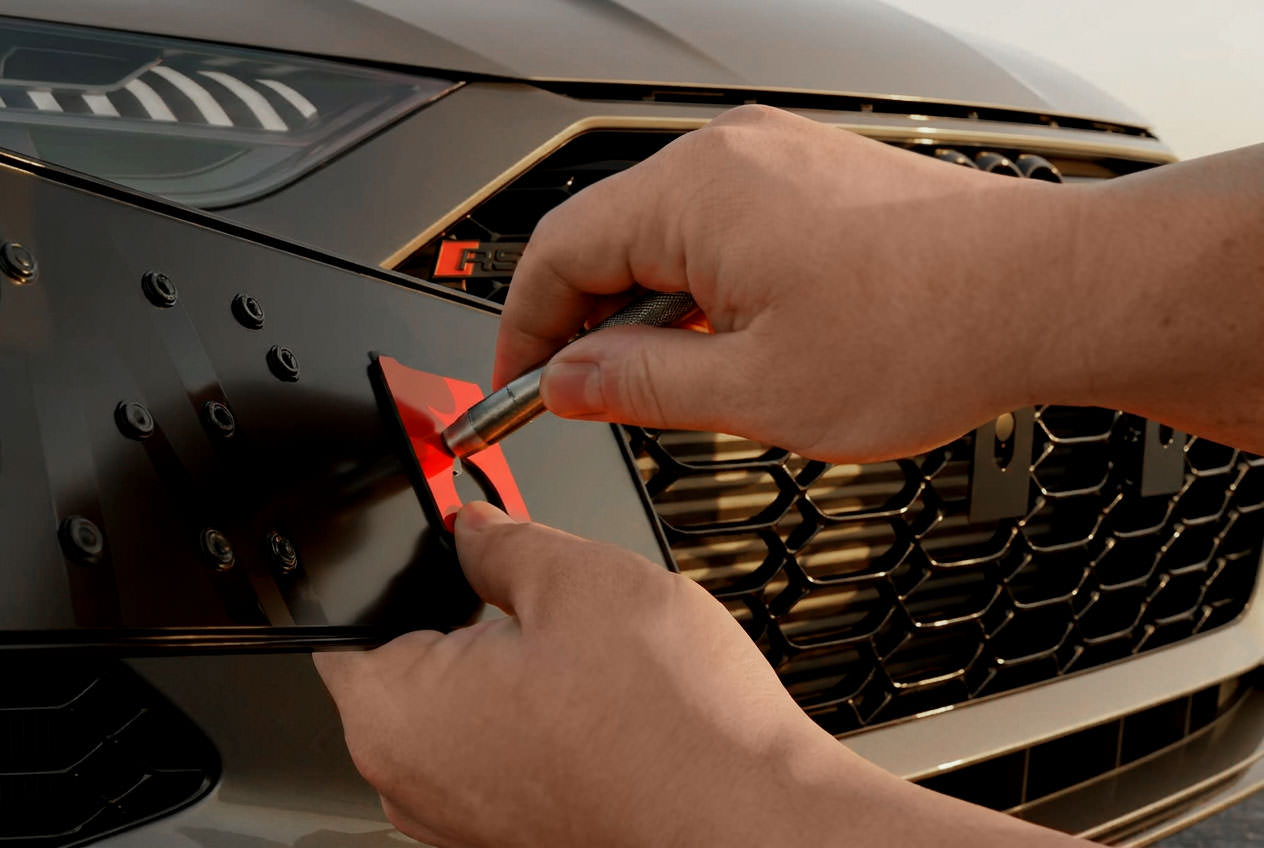
Final gluing of the 3D license plate onto the mounting plates
Now remove the transfer adhesive pads and all red liners from the mounting plates and from the adhesive pads on the back of the 3D license plate.
Now place the license plate back in exactly the same position and press it evenly onto the mounting plates.
Ensure that both sides lie cleanly and the license plate is straight. Then press the adhesive surfaces firmly and evenly.
After final installation, the 3D license plate remains glued to the mounting plates. From now on, you can click the license plate together with the mounting plates onto the pins and remove them at any time.

Curing time of the adhesive pads
All adhesive pads reach about 70 percent of their holding power after approx. 20 minutes.
Full strength is reached after approx. 72 hours. During this time, you should avoid high-pressure cleaners, car washes, heavy loads, and driving on the highway at high speeds.
After the curing time has elapsed, KLIK AIR is fully ready for use.
VIDEO | KLIK AIR License Plate Holder Installation Instructions
VIDEO | KLIK AIR
Installation on a 3D License Plate
In this video, we show you how to mount our KLIK AIR license plate holder on 3D license plates.
KLIK – Installation Instructions
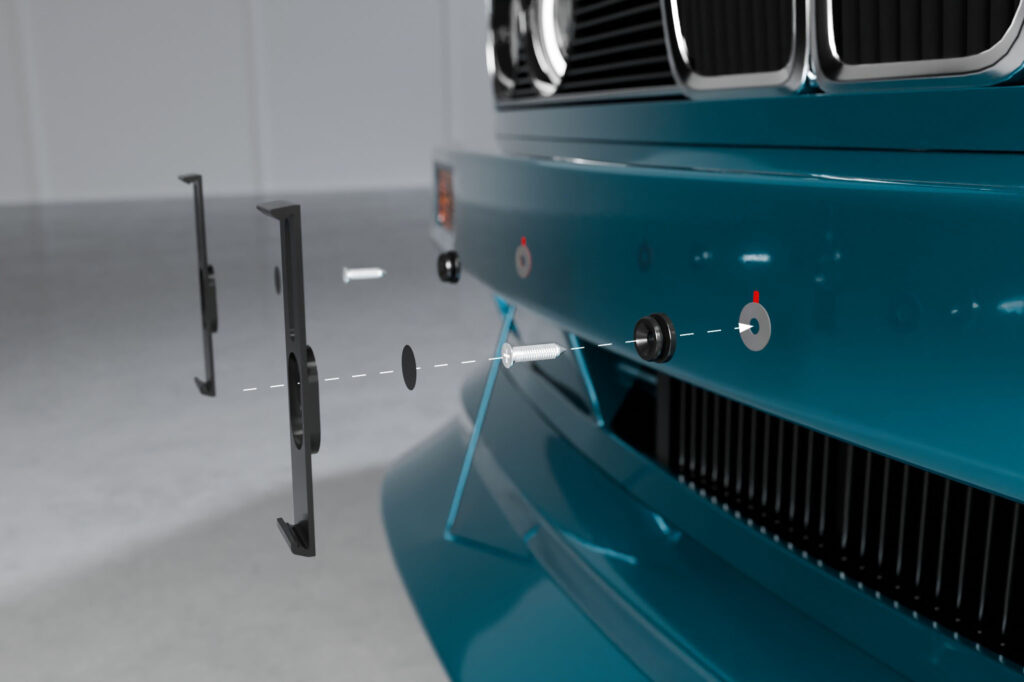
Here you will find the complete installation instructions for the screwed version of the KLIK license plate holder in detailed and illustrated text form.
Quick Guide for the Impatient
Tap a step for detailed instructions ↓
- Clean the pins and mounting surface, apply 3M adhesive pads to the pins, peel off the red film.Details ›
- Screw in the pins hand-tight (approx. 1–2 Nm, 200–300 mm distance).Details ›
- Sealing the pins with foil stickers.Details ›
- Mount the mounting arms on the license plate – insert at the bottom, slide upwards with your thumbs until you hear a click.Details ›
- Place the license plate with the mounting arms onto the pins until it snaps into place.Details ›
Tools and Material
To mount a license plate, you will need two mounting arms and two mounting pins. Additionally, depending on the vehicle, you will need either two sheet metal screws or two M6 screws. All necessary parts are included with your license plate holder.
If you need some distance from the vehicle, for example to bridge honeycombs, webs, or slight curves, your holder comes with suitable spacers. For more specialized applications, we also have other adapters for our KLIK license plate holder.
A standard Phillips screwdriver is sufficient for attachment.
Overview of License Plate Holder Installation Instructions
What you need to mount a license plate:
Preparing the pins
Clean the pins and the surface where the mounting pins are to be attached with the supplied alcohol swab. Let the pins and the cleaned surfaces air dry for at least one minute to ensure no alcohol residue remains.
Then attach the 3M adhesive pads to the back of the pins and remove the red protective film from the adhesive pad.
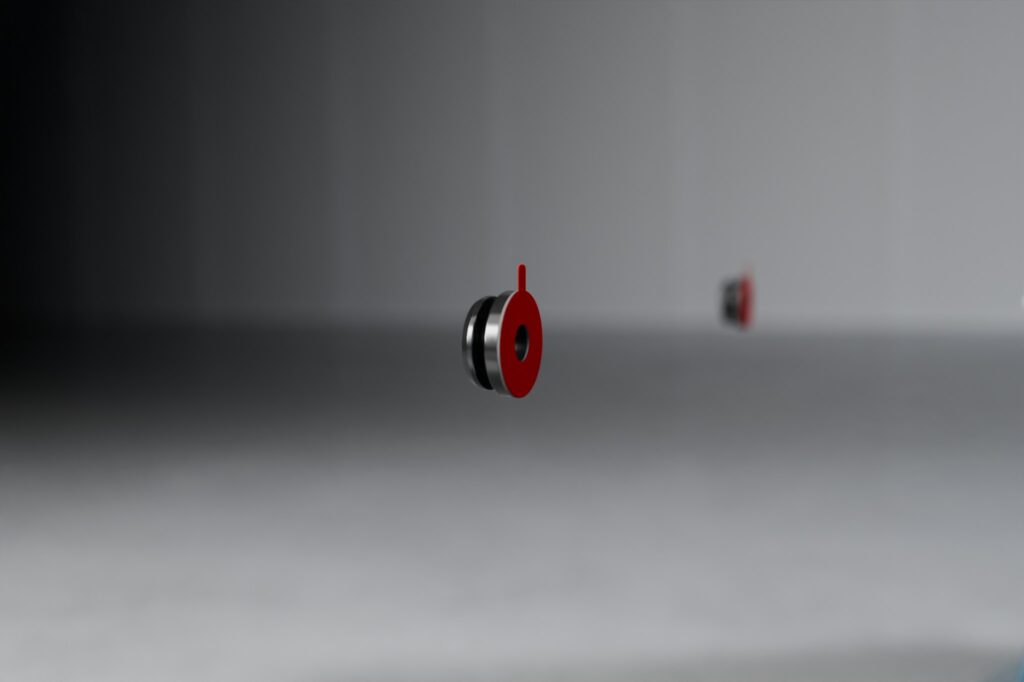
Screwing on the pins
Hold the pin so that it does not accidentally touch the body, and screw the two pins hand-tight with approx. 1 to 2 Nm to your vehicle.
More force is not necessary. Excessive torque can cause the screws in the plastic of the bumper to spin freely and no longer provide a hold. Additionally, over-tightening can damage the pin.
We recommend a distance of 200 to 300 mm between the pins. This range corresponds to many standard mounting points at the rear and has proven to be particularly stable in our tests. In principle, however, you can choose the distance freely.
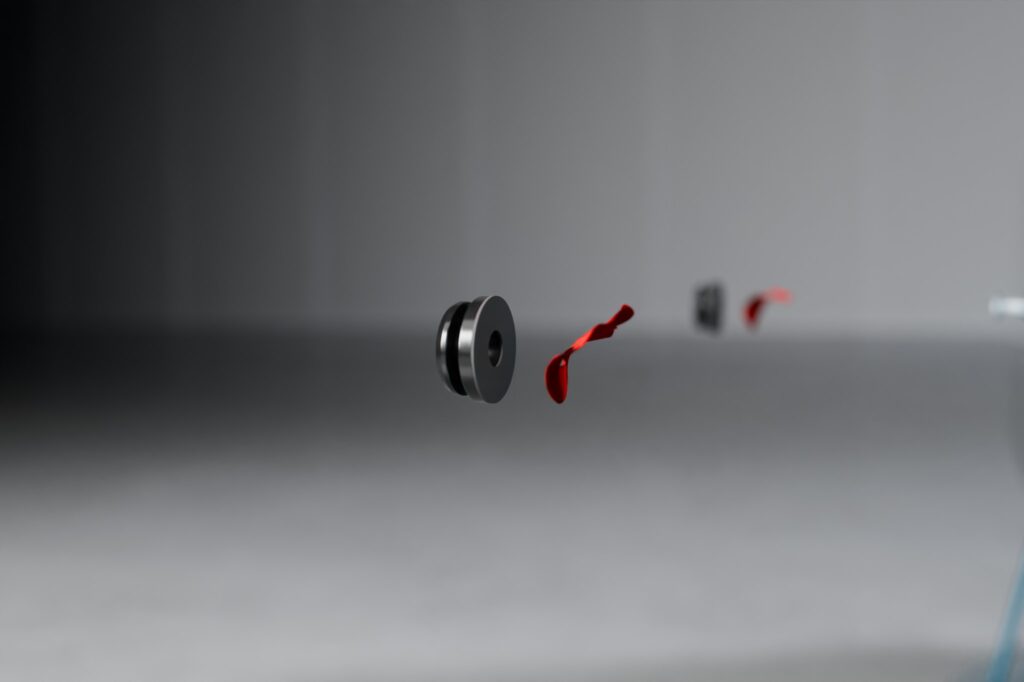
Sealing the pins
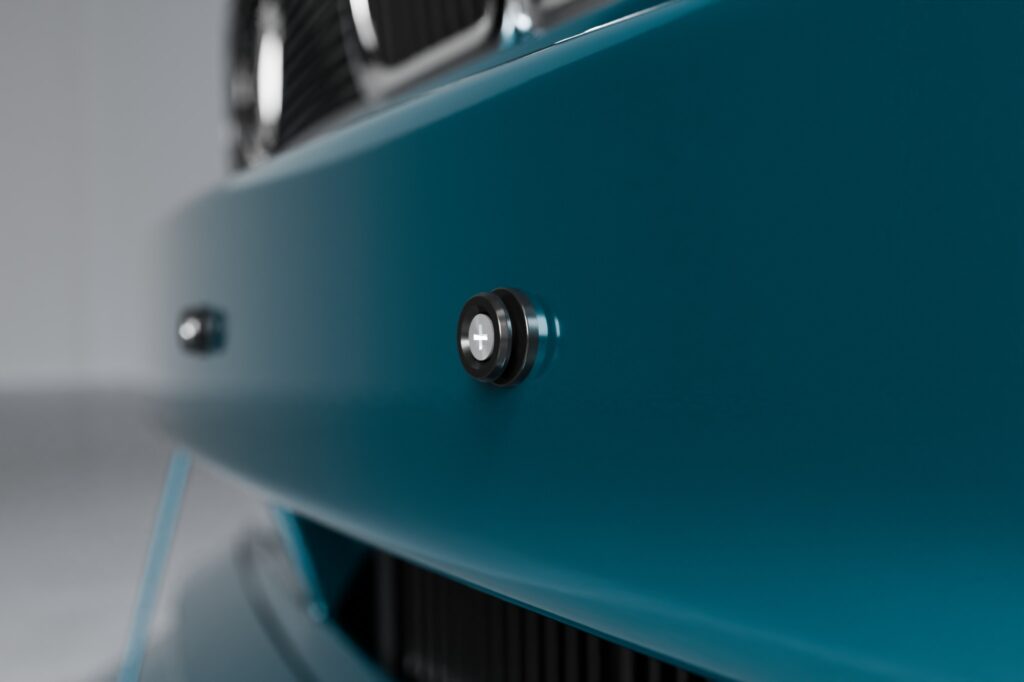
Once the mounting pins are correctly seated, they are sealed with the included foil stickers. This keeps the look as clean and inconspicuous as possible.
Ensure that the pins are clean, dry, free of grease and dust before applying the foil stickers.
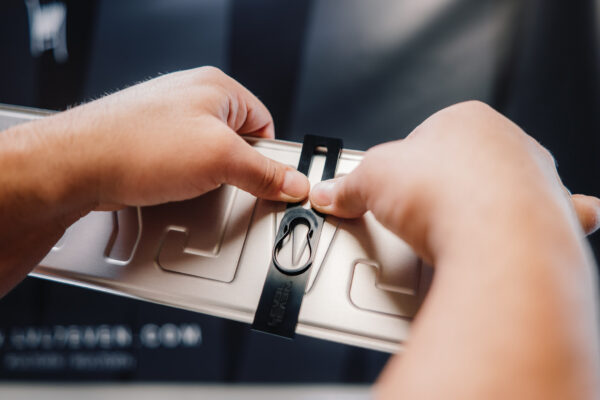
Mounting the mounting arms on the license plate
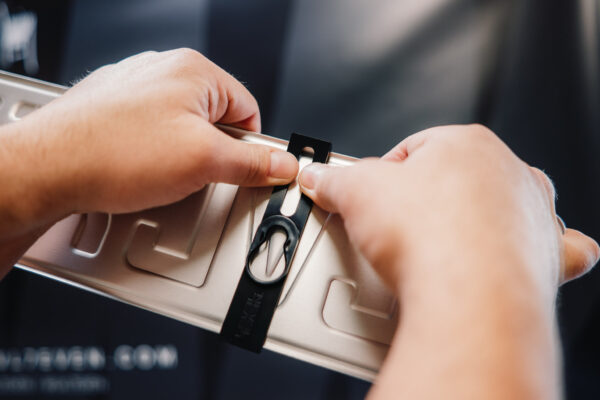
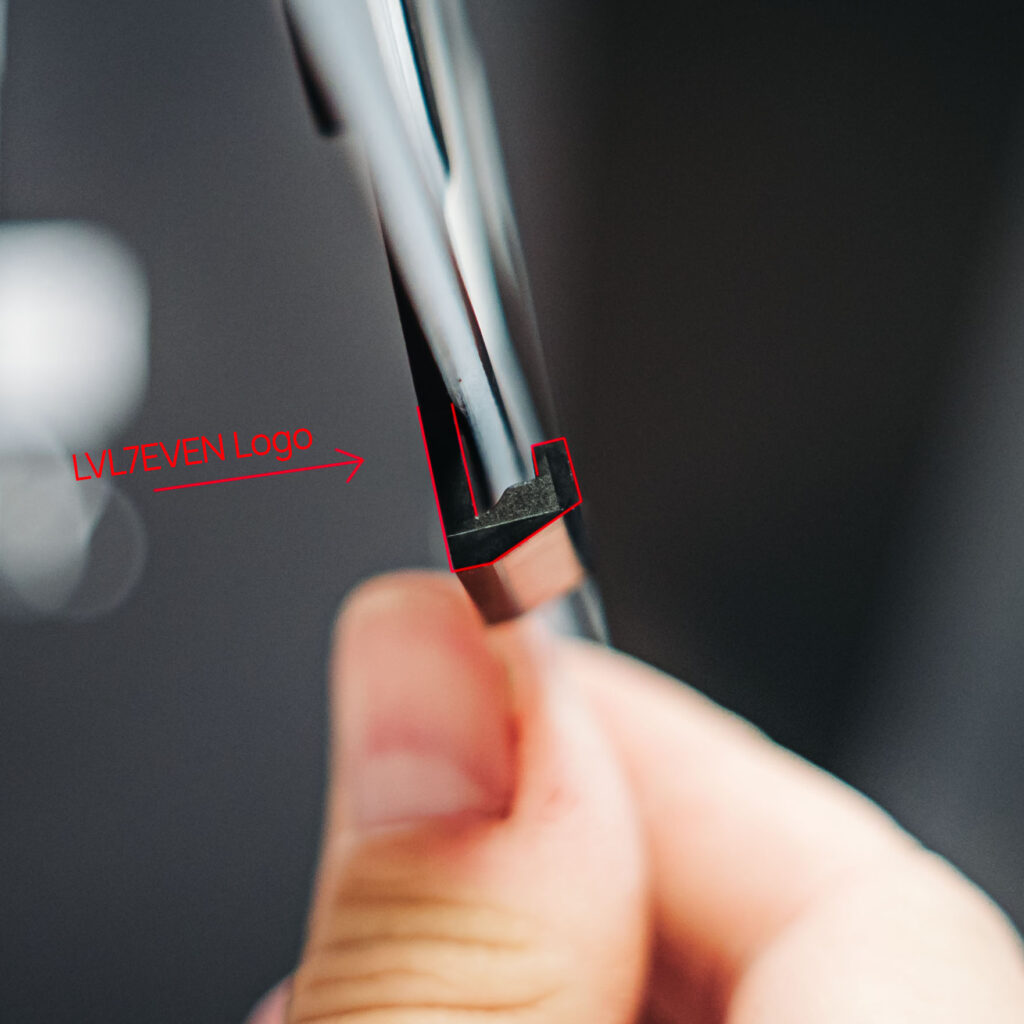
To mount the mounting arms, first insert the license plate into the bottom of the mounting arm. You can recognize the bottom side by the U-shaped receptacle. The bottom is also the side where the LVL7EVEN logo is located on the back.
Then stroke with both thumbs and even pressure from the center of the mounting arm upwards to the locking head. Work parallel to the groove of the mounting arm until the locking head audibly clicks into place.
Ensure that the license plate lies completely and flush against the back of the mounting arm during this process.
With correct installation, no force is necessary. If the mounting arm is difficult to mount, first check whether it is really sitting straight on the license plate. Cold temperatures can also make the mounting arm a bit stiffer.
Unlike conventional holders where the license plate is simply pressed in from the front, KLIK requires a targeted mounting movement. The reason for this is the material used and the precise fit. We deliberately use a particularly dimensionally stable plastic that ensures a secure hold, exact guidance, and long-term durability.
You can either measure the distance between the mounting arms beforehand or align them directly using the already mounted pins on the vehicle.
When the mounting arm is correctly clicked into place, you should hear a clear click sound. With 3D license plates, this sound may be somewhat softer.
Locking the license plate onto the mounting pins
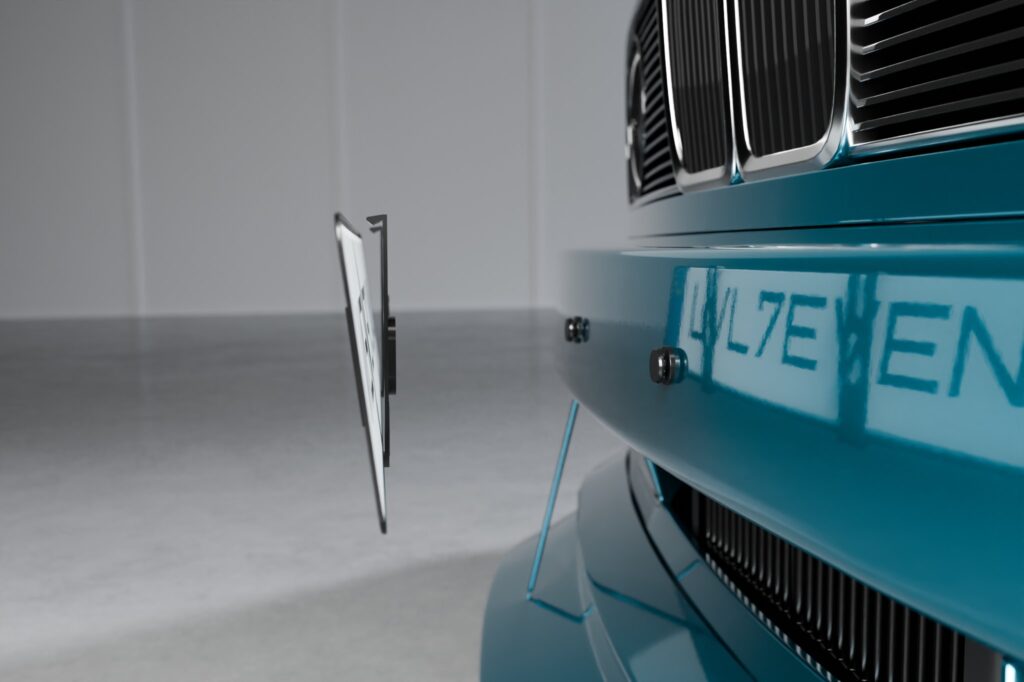
Now place the license plate with the mounted mounting arms onto the previously attached pins on the vehicle.
With light downward pressure, the mounting arms click onto the pins. Here too, you should hear an audible click sound.
Then check whether both mounting arms are fully seated on the pins and the license plate is securely locked.
That’s it. From now on, you can remove your license plate at any time with just one movement and click it back in.
VIDEO | KLIK UNIVERSAL License Plate Holder Installation Instructions
In this video, we show you how the screwed version of the KLIK license plate holder is mounted and what to look out for.
ANY QUESTIONS?
FIND ANSWERS
No KLIK or KLIK AIR yet?
Get the original from LVL7EVEN now – high-quality, minimalist, and mounted in seconds.